#
Building a Cyber Range with Ludus

Ever since I built my first homelab, I wanted to create my own dedicated cyber range - my little digital playground where I can break things, fix things, automate things, and then do it all over again. True definition of insanity right here. But I didn’t want to risk nuking my daily-driver machine.
Then one day I looked over at my ancient desktop — the one that wheezes when you open up more than three Chrome tabs (I actually needed to replace a few faulty fans) and thought:
"Bestie, you’re getting a glow-up."
A quick dive into the documentation rabbit hole later, I found Ludus, an open-source framework that basically said, "I heard you hate clicking through installers manually, let me cook."
#
Why Ludus?
I chose Ludus for a few reasons:
- It automates the heavy lifting of cyber range creation, because I am allergic to unnecessary clicking.
- It supports modular “plugins,” including prebuilt Active Directory environments.
- Everything is infrastructure-as-code, which means I can tear down and rebuild environments cleanly.
- It's built for learning, research, and “I wonder what happens if—” moments, not production use.
Besides, I was already making use of Proxmox in my previous series and Ludus builds on top of it. So Ludus fits perfectly into my tech ecosystem.
#
Setting up my Range
Ludus' documentation walks through the installation process, and following it is very straightforward so I won't be covering it in this blogpost.
After you have installed Ludus and created a user, you should be able to list the available templates.
$ ludus templates list
+------------------------------------+-------+
|              TEMPLATE              | BUILT |
+------------------------------------+-------+
| debian-11-x64-server-template      | FALSE |
| debian-12-x64-server-template      | FALSE |
| kali-x64-desktop-template          | FALSE |
| win11-22h2-x64-enterprise-template | FALSE |
| win2022-server-x64-template        | True  |
+------------------------------------+-------+
On a fresh install, a few default templates are provided but haven't been build yet. As I like to keep things up to date I added a win2025 template, but you can add as many as you like (if the storage lets you).
$ git clone https://gitlab.com/badsectorlabs/ludus
$ cd ludus/templates
$ ludus templates add -d win2025-server-x64-tpm
[INFO]  Successfully added template
$ ludus templates build -n win-2025-server-x64-tpm-template
[INFO]  Template building started
$ ludus templates build -n debian-12-x64-server-template
[INFO]  Template building started
While browsing the “Environment Guides,” I stumbled upon the Game Of Active Directory – Ninja Hacking Academy (GOAD-NHA) setup. This thing is basically an escape room for sysadmins — you drop in, and everything dares you to figure it out by yourself. But I wanted my cyber range to be on the latest Windows Server version, which at the time of writing is 2025.
That meant modifying the original Ansible scripts. Thankfully, it wasn’t as dramatic as it sounds, but it did feel like giving the templates a well-deserved modern update. My current ludus range configuration looks as follows:
ludus:
  - vm_name: "{{ range_id }}-NHA-DC01"
    hostname: "{{ range_id }}-DC01"
    template: win2025-server-x64-tpm-template
    vlan: 10
    ip_last_octet: 30
    ram_gb: 8
    cpus: 2
    windows:
      sysprep: true
  - vm_name: "{{ range_id }}-NHA-DC02"
    hostname: "{{ range_id }}-DC02"
    template: win2025-server-x64-tpm-template
    vlan: 10
    ip_last_octet: 31
    ram_gb: 8
    cpus: 2
    windows:
      sysprep: true
  - vm_name: "{{ range_id }}-NHA-SRV01"
    hostname: "{{ range_id }}-SRV01"
    template: win2022-server-x64-template
    vlan: 10
    ip_last_octet: 32
    ram_gb: 6
    cpus: 2
    windows:
      sysprep: true
  - vm_name: "{{ range_id }}-NHA-SRV02"
    hostname: "{{ range_id }}-SRV02"
    template: win2025-server-x64-tpm-template
    vlan: 10
    ip_last_octet: 33
    ram_gb: 6
    cpus: 2
    windows:
      sysprep: true
  - vm_name: "{{ range_id }}-NHA-SRV03"
    hostname: "{{ range_id }}-SRV03"
    template: win2025-server-x64-tpm-template
    vlan: 10
    ip_last_octet: 34
    ram_gb: 6
    cpus: 2
    windows:
      sysprep: true

router:
  vm_name: "{{ range_id }}-router-debian12-x64"
  hostname: "{{ range_id }}-router"
  template: debian-12-x64-server-template
  ram_gb: 2
  ram_min_gb: 1
  cpus: 2

defaults:
  ad_domain_functional_level: Win2025
  ad_forest_functional_level: Win2025
  snapshot_with_RAM: true
  stale_hours: 0
  ad_domain_admin: domainadmin
  ad_domain_admin_password: password
  ad_domain_user: domainuser
  ad_domain_user_password: password
  ad_domain_safe_mode_password: password
  timezone: Europe/Brussels
  enable_dynamic_wallpaper: true
I also made a few tweaks to the available RAM of the VMs and updated the domain/forest functional level to 2025 as well. With this file we can start building our hacker lab.
For the lab I will be building, we also have to change one of the servers to Windows 2022. At the time of writing, the lab cannot be solved because of small changes in the newer versions of Windows.
#
Ninja Hacker Academy Setup
NHA is designed as an educational challenge where users normally work toward gaining domain admin on two domains (academy.ninja.lan and ninja.hack). The scenario includes:
- A starting point on
WEB(SRV01) - Flags hidden on each machine
- Up-to-date systems with Defender enabled
Let's create a new user for our range and start the deployment with the Ludus CLI.
$ ludus user add --name Ninja --userid NHA --url https://127.0.0.1:8081
[INFO] Adding user to Ludus, this can take up to a minute. Please wait.
+--------+------------------+-------+---------------------------------------------+
| USERID | PROXMOX USERNAME | ADMIN | API KEY |
+--------+------------------+-------+---------------------------------------------+
| NHA | ninja | false | <YOUR_API_KEY> |
+--------+------------------+-------+---------------------------------------------+
$ ludus range config set -f ad/NHA/providers/ludus/config.yml --user NHA
[INFO] Your range config has been successfully updated.
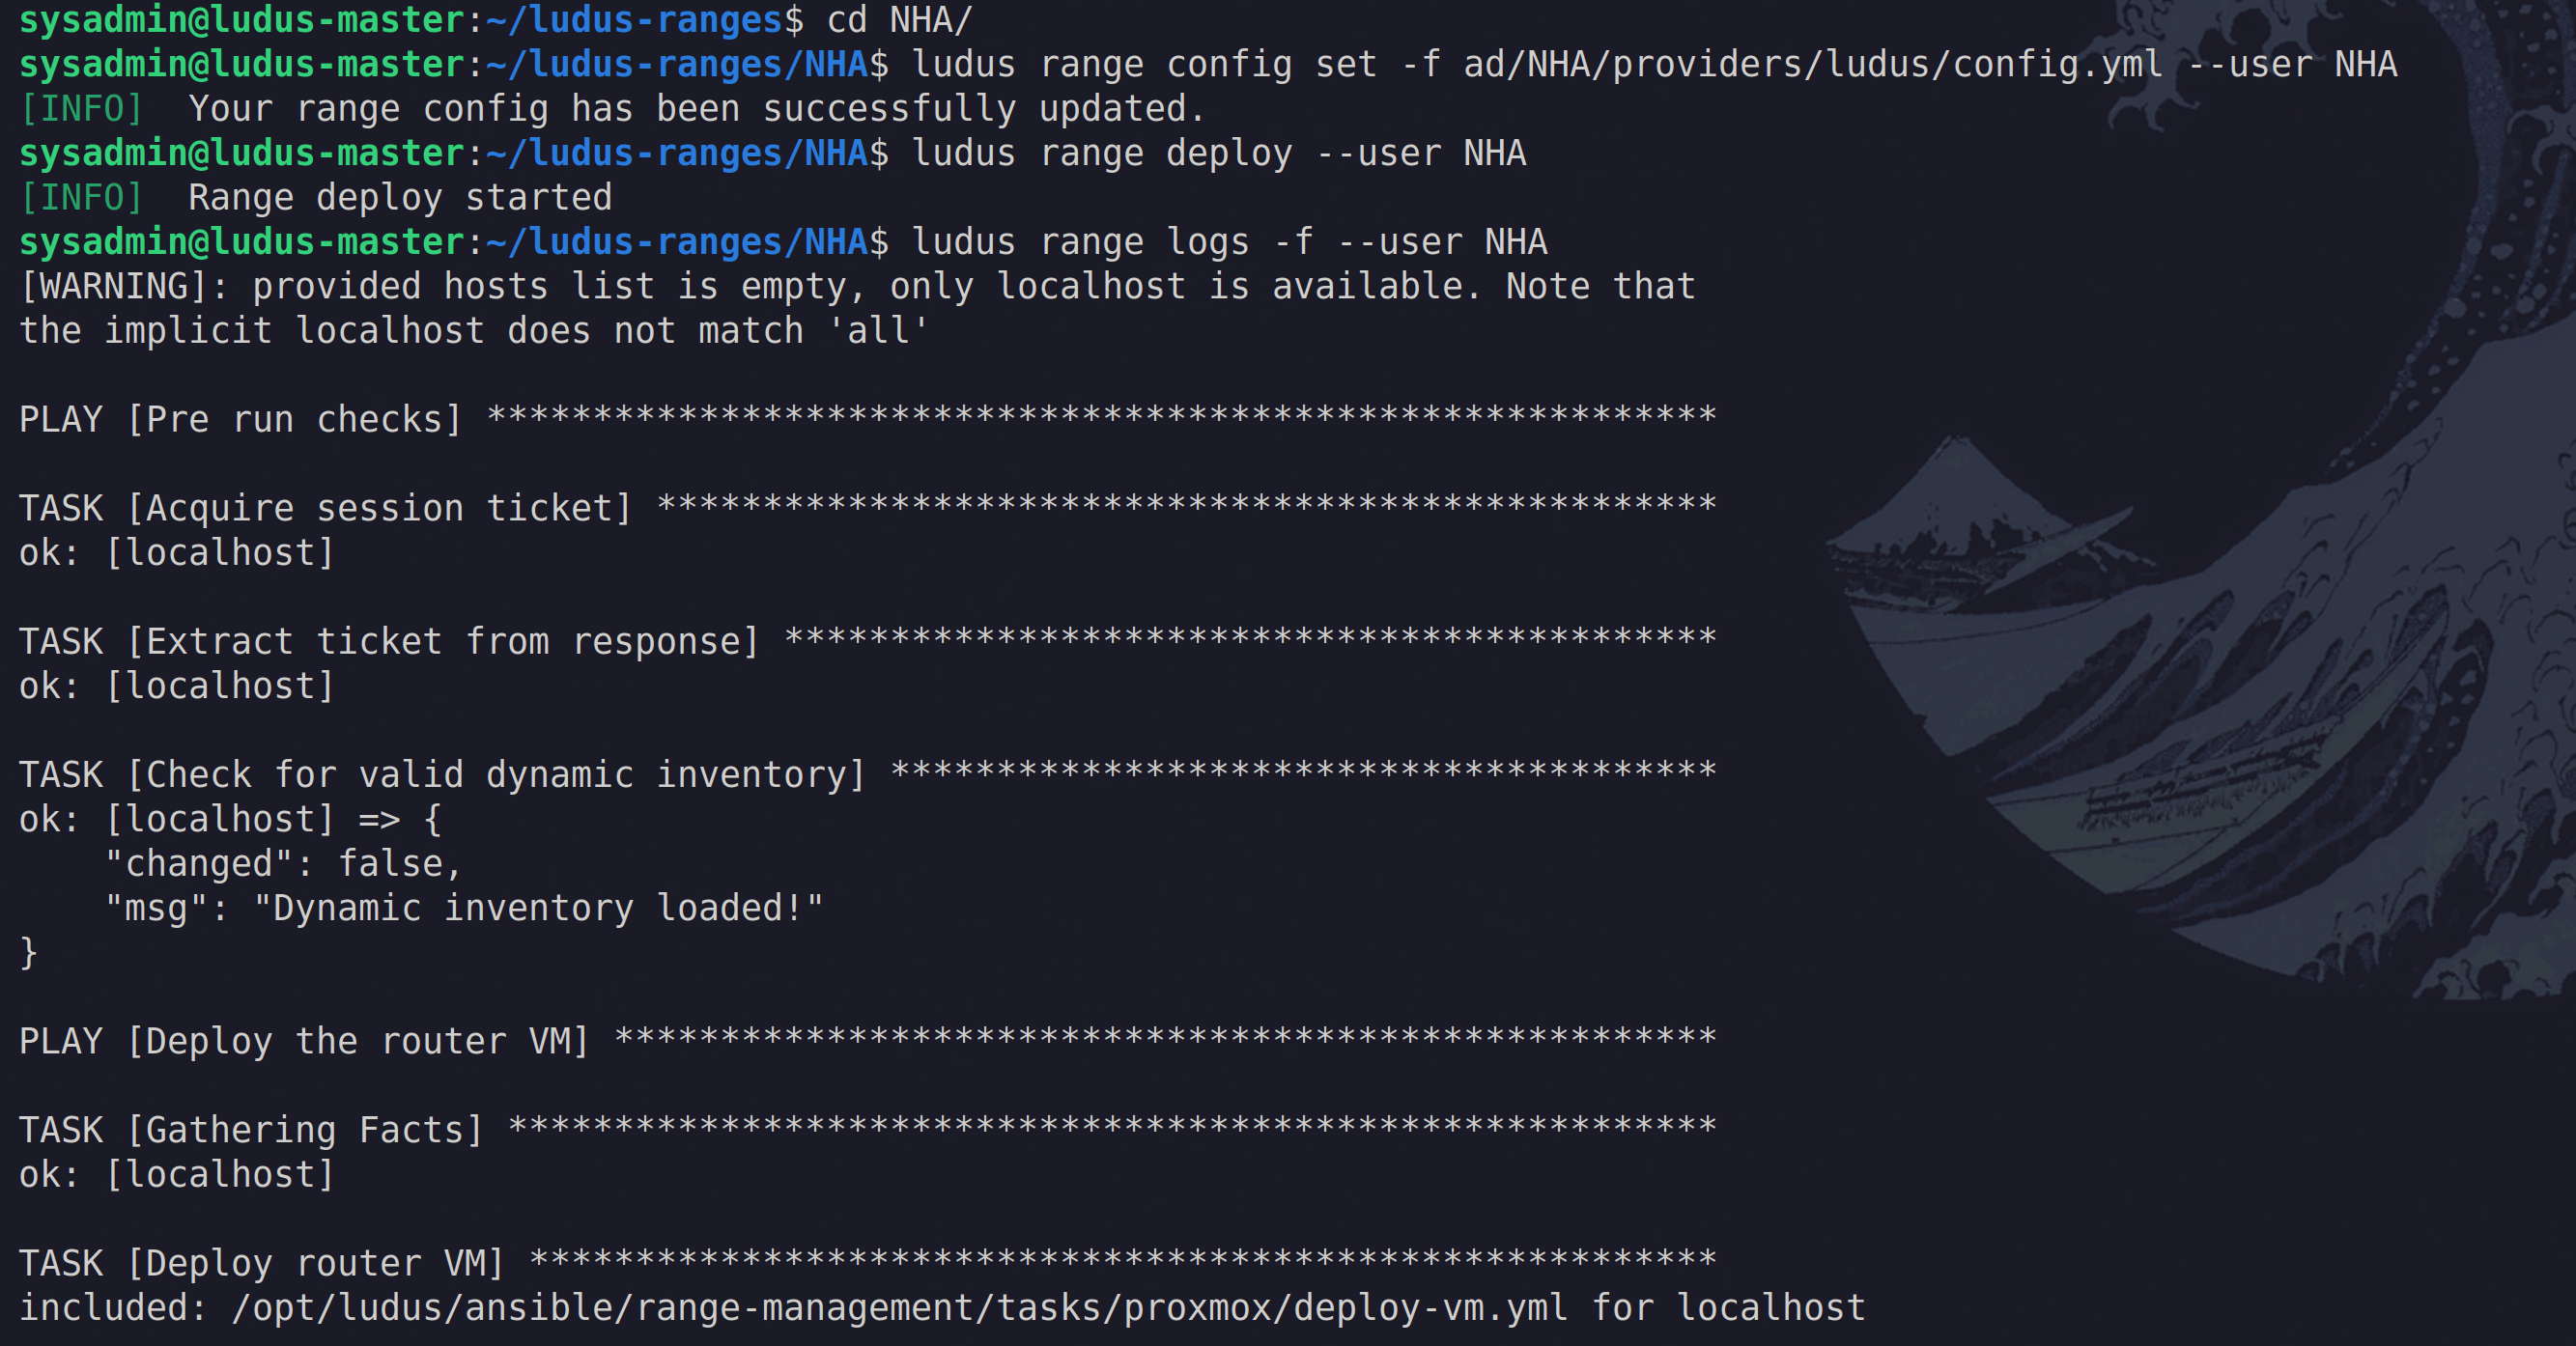
$ ludus range deploy --user NHA
[INFO] range deploy startedYou can follow the deployment process with the range logs -f command:
At the end you should see something like this:
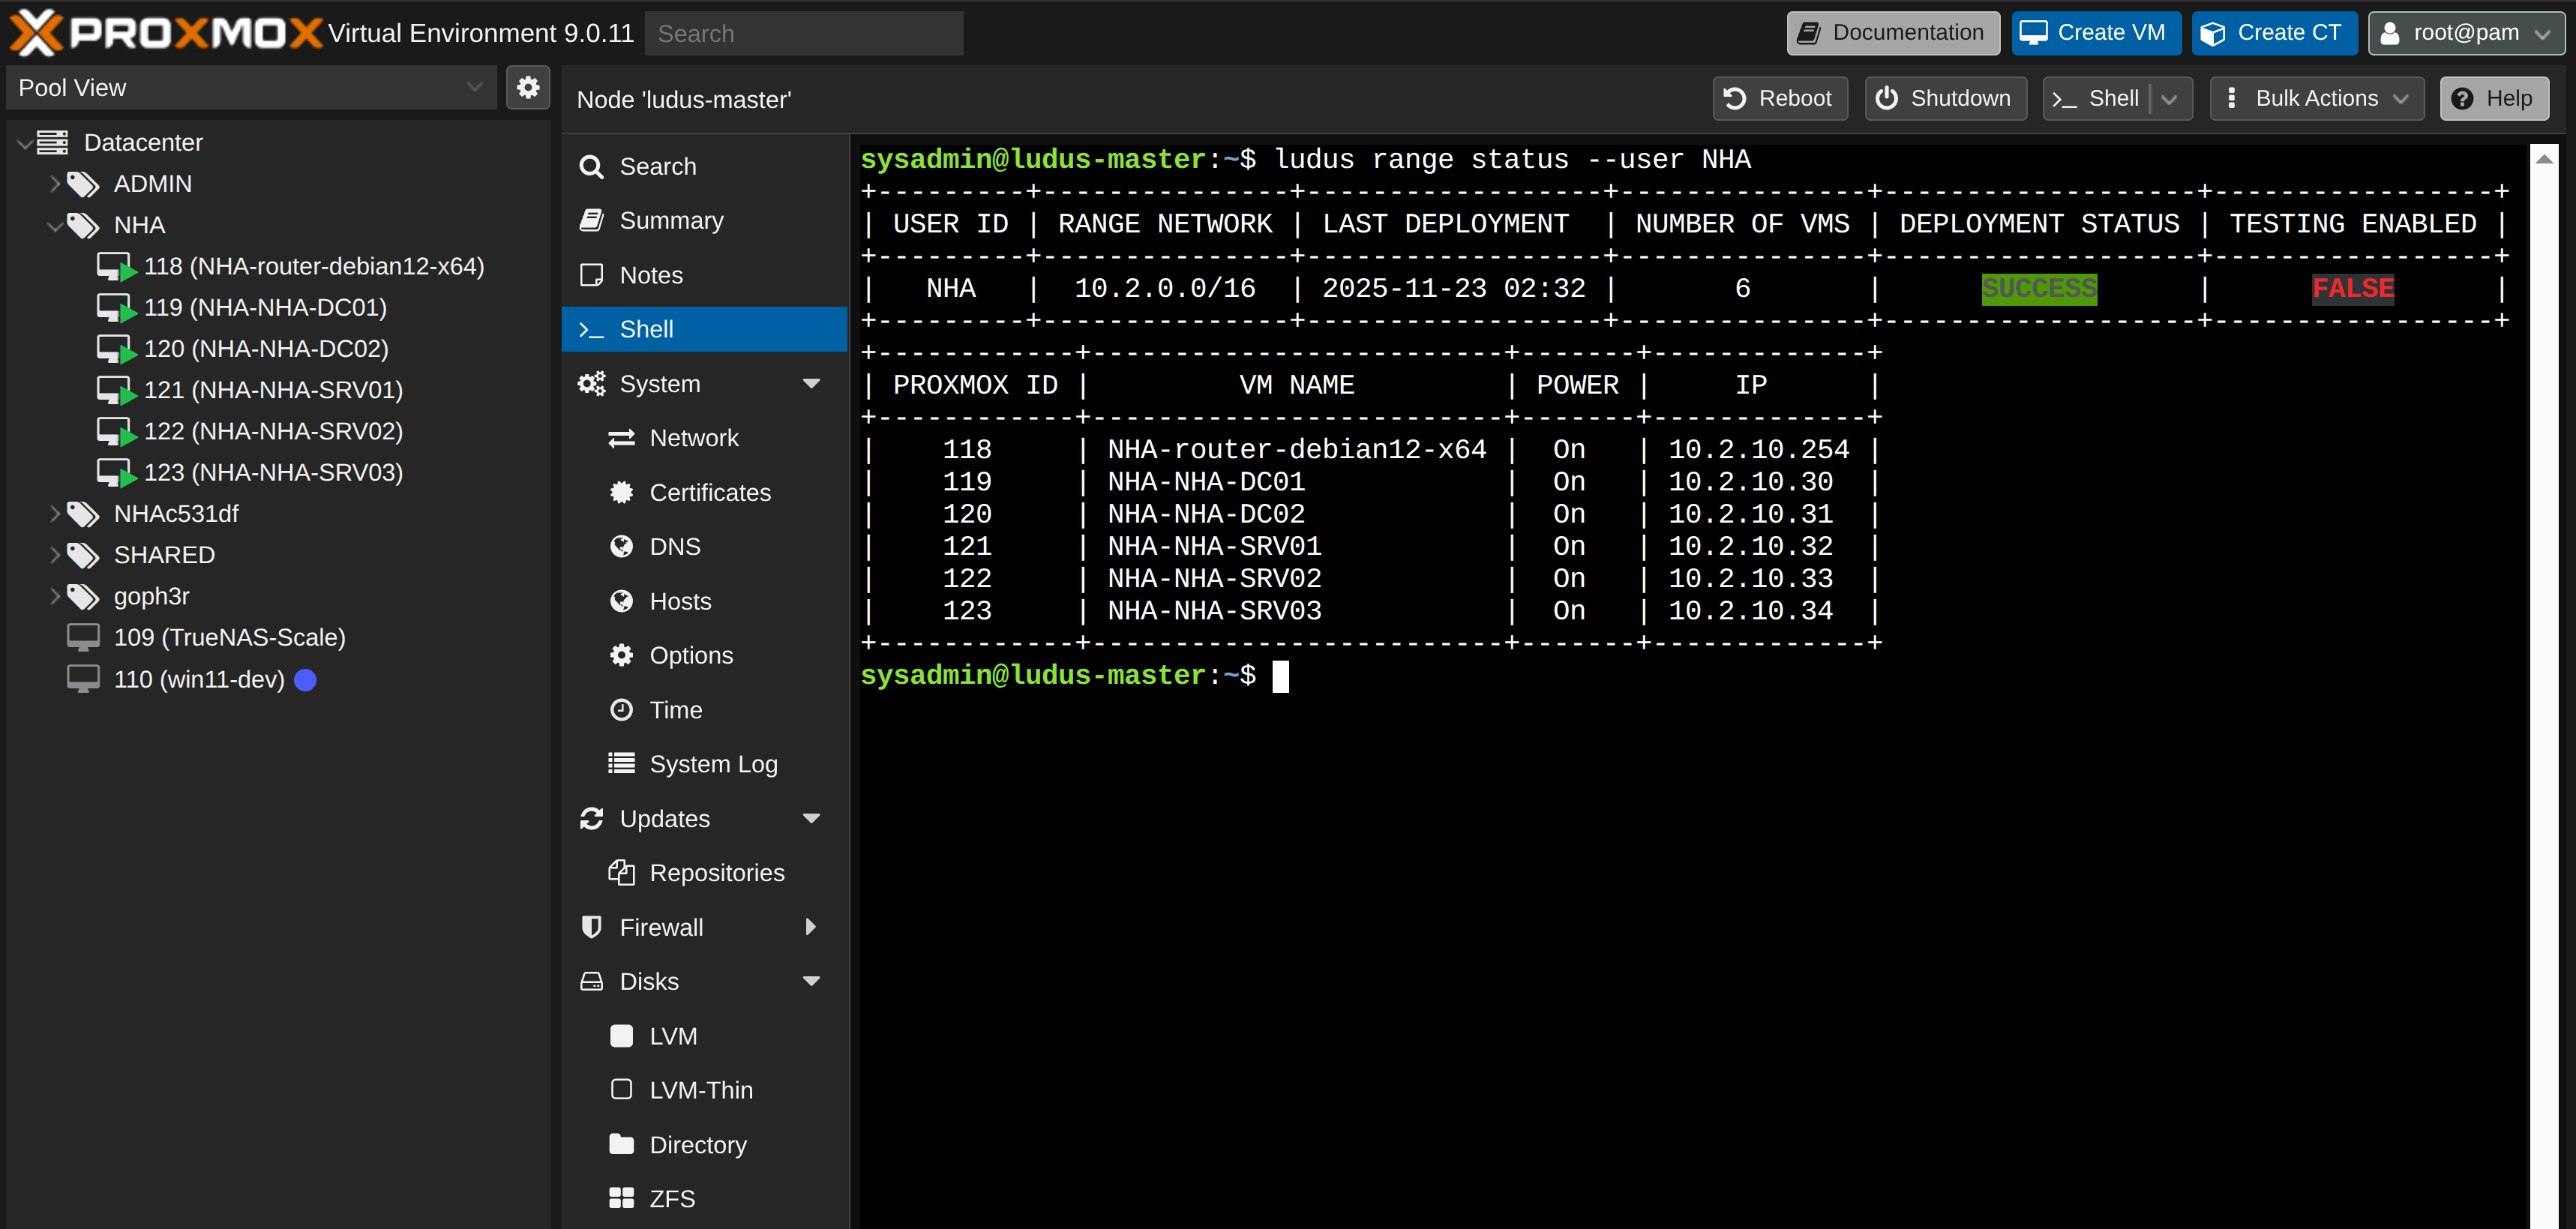
At this point the old desktop is usually running enough VMs to sound mildly annoyed, but it manages.
#
Ansible Provisioning
With our range deployed, we can start setting up the actual environment. With Ansible we can provision our whole infrastructure using custom playbooks. Using the available playbooks from Orange-Cyberdefense, I changed most of them to be compatible with the latest version of Ansible.
In the future I was thinking of publishing them on my GitHub, but they might already be there ;)
We proceed with the provisioning and install the required collections (but these should already be installed with ludus):
$ ansible-galaxy collection install ansible.windows
$ ansible-galaxy collection install microsoft.ad
$ ansible-galaxy collection install community.general
$ ansible-galaxy collection install community.windows
Before continuing, make sure that your inventory file at workspace/ludus/inventory matches the IP addresses from your range. In my case the range starts with 10.2.10.x so I will update it accordingly:
$ cat workspace/inventory
[default]
; Note: ansible_host *MUST* be an IPv4 address or setting things like DNS
; servers will break.
; ------------------------------------------------
; ninja.local
; ------------------------------------------------
dc01 ansible_host=10.2.10.30 dns_domain=dc01 dns_domain=dc02 dict_key=dc01
dc02 ansible_host=10.2.10.31 dns_domain=dc02 dict_key=dc02
srv01 ansible_host=10.2.10.32 dns_domain=dc02 dict_key=srv01
srv02 ansible_host=10.2.10.33 dns_domain=dc02 dict_key=srv02
srv03 ansible_host=10.2.10.34 dns_domain=dc02 dict_key=srv03


[all:vars]
force_dns_server=no
dns_server=10.2.10.254

dns_server_forwarder=10.2.10.254

ansible_user=localuser
ansible_password=password
Hop into the ansible directory where all the playbooks are located and run them all.
If you get the error Ansible could not initialize the preferred locale: unsupported locale setting, check your locales with locale -a and set it with export LC_ALL=<YOUR_LOCALE>.utf8
$ cd NHA/ansible
$ ansible-playbook -i ../ad/NHA/data/inventory -i ../workspace/inventory -i ../globalsettings.ini main.yml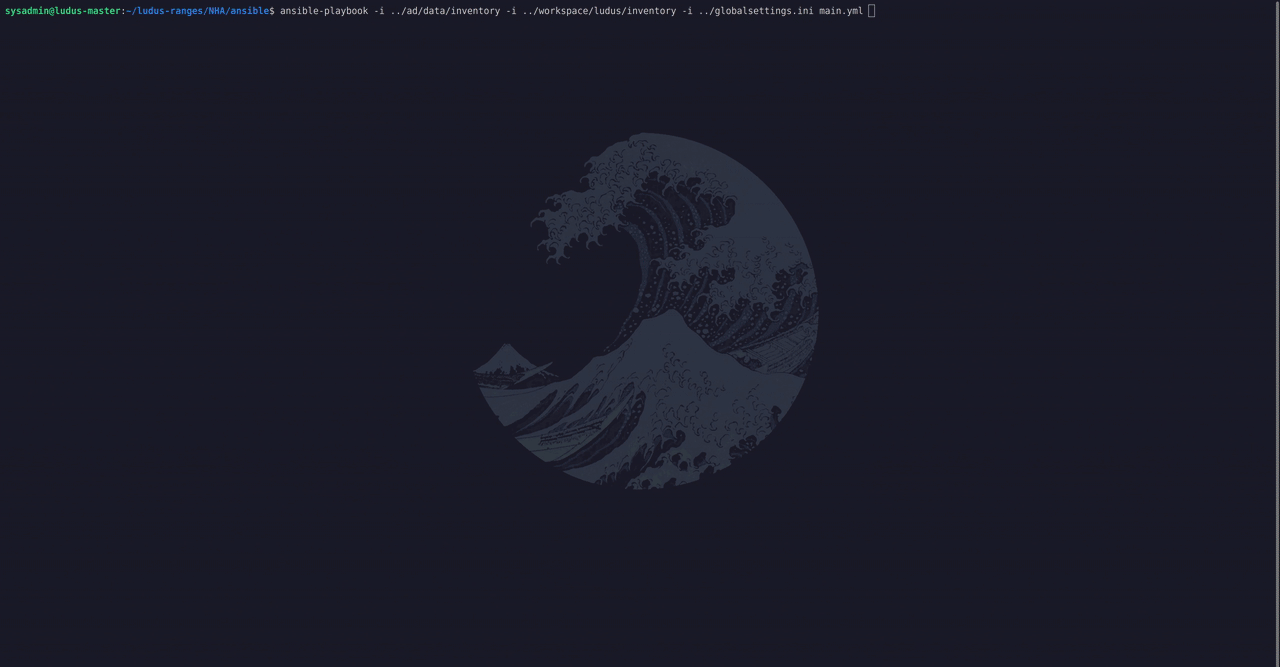
Ignore the warnings as Ansible goes brrr...
This will take some time for it to complete — a good opportunity to refresh your coffee while automation does its thing. In case we ever make a change to one of the playbooks or tasks we can also just run a single one:
$ ansible-playbook -i ../ad/NHA/data/inventory -i ../workspace/inventory -i ../globalsettings.ini ad-trusts.ymlAfter it is finished provisioning our lab, we can take snapshots via the proxmox web UI or SSH run the following ludus command (make sure your disks allow snapshots)
$ ludus --user NHA snapshot create clean-setup -d "Clean NHA setup after ansible run"
[INFO]  Successfully created snapshot 'clean-setup' for VM 118
[INFO]  Successfully created snapshot 'clean-setup' for VM 119
[INFO]  Successfully created snapshot 'clean-setup' for VM 120
[INFO]  Successfully created snapshot 'clean-setup' for VM 121
[INFO]  Successfully created snapshot 'clean-setup' for VM 122
[INFO]  Successfully created snapshot 'clean-setup' for VM 123
#
Connecting to the Lab
$ ludus user wireguard --user NHA | tee ludus-wg.conf
[Interface]
PrivateKey = <PRIVATE_KEY>
Address = 198.51.100.5/32

[Peer]
PublicKey = <PUBLIC_KEY>
Endpoint = 192.168.128.10:51820
AllowedIPs = 10.2.0.0/16, 198.51.100.1/32
PersistentKeepalive = 25
Copy this file to your client and run WireGuard:
$ wg-quick up ./ludus-wg.confYou can optionally narrow AllowedIPs down to only the srv01 host for better isolation. And just like that, you’re securely connected to your newly deployed cyber range. Let's do a quick test with one of the local admin passwords to see if everything works fine.
$ evil-winrm-py -i SQL.academy.ninja.lan -u 'Administrator' -p '978i2pF43UqsdqsdJ-qsd'
          _ _            _
  _____ _(_| |_____ __ _(_)_ _  _ _ _ __ ___ _ __ _  _
 / -_\ V | | |___\ V  V | | ' \| '_| '  |___| '_ | || |
 \___|\_/|_|_|    \_/\_/|_|_||_|_| |_|_|_|  | .__/\_, |
                                            |_|   |__/  v1.5.0

[*] Connecting to 'SQL.academy.ninja.lan:5985' as 'Administrator'
evil-winrm-py PS C:\Users\Administrator.SQL\Documents>
#
Final Thoughts
Turning an old desktop into a fully automated Active Directory cyber range has been one of the most satisfying upgrades to my homelab so far. With Proxmox handling the virtualization and Ludus orchestrating everything, I now have a modern, customizable environment for testing scenarios, experimenting with configurations, and learning in a safe space.